
One of the most common problems usually affiliates have trouble with conversion tracking with CPVLAB and Prosper is because they don’t have SSL certificates installed on their tracking domains. There are many networks which require you to have SSL installed on your trackers so that they can let you track pixels or in simple words they ask you to have https trackers in order to track conversions on their end, Installing SSL for any site, tracker, domain is same and very simple.

Before we go into details a little about what is SSL and why they are important , SSL stands for “Secure Sockets Layer” and they make your login information more secure and make the communication with the web-servers secure by applying encryption. Read more about SSL here, It not only helps you to track conversions efficiently but also protects your tracking data as well.
Before you start
Buy SSL certificate , I prefer to buy from Name cheap, While buying Certificates feel free to choose anyone there is no major difference i prefer to get cheaper ones as we are not using them on any kind of e-commerce sites etc and all we need to do is to setup tracking properly so we can easily track our conversions. And for this we do not need any fancy trust seals so it is ok to go with the cheaper packages.
One thing you will have to remember is that you will have to dedicate one Static IP address to a single domain ( On which you are installing SSL certificate), You can also have multiple IP addresses on same server hosting multiple websites. Just like always, I recommend to Beyond Hosting VPS Servers or Name Hero Servers For hosting ..
Getting Started
You can install SSL through your hosting Cpanel or using server WHMS , http://yourDomain.com:2083 for Cpanel and http://yourdomain.com:2087 for opening WHMS login page .
- Using CPanel
- Using WHMS (web host manager )
In this tutorial I will Install the SSL using Cpanel, As it would be easy for people to understand and also many of our readers might not have access to their WHMS panels specially if they are using managed VPS services, However if you want to do install SSL using WHMS process is almost same as Cpanel..
Step 1
Log into your cpanel and click on SSL Manager as shown in screenshot below
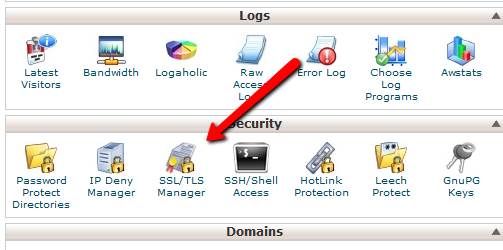
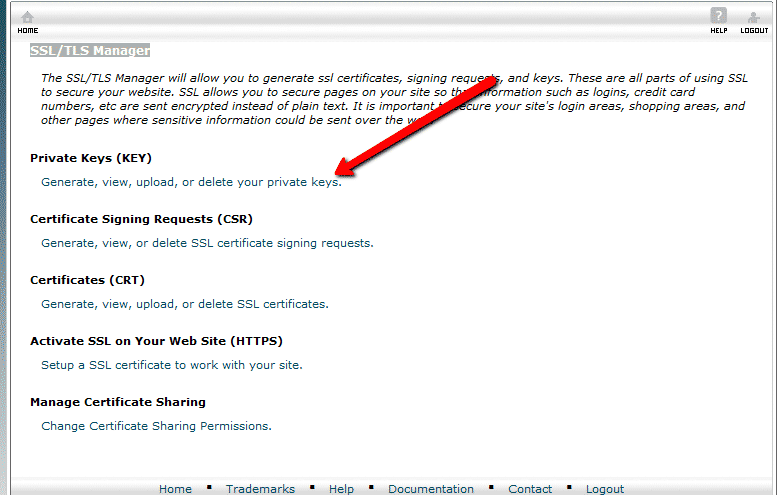
On next screen You will reach in SSL/TLS Manager
Step 2
here you will generate Private Keys so click on “Generate, view, upload, or delete your private keys.” as shown in the screenshot below.
Step 3
Now on next screen scroll to bottom where it asks for you to tyoe in domain or select from drop down select it from drop down or tyoe it (its your own choice) as shown in below screenshot

And click generate , you will see some weird looking code don`t worry its just code , now click on back to ssl manager button and go back to manager screen,
Step 4
Now you need to generate Certificate Signing Requests (CSR) , so click on “Generate, view, or delete SSL certificate signing requests.” and you will see this weird looking code again , Which looks like screen shot given below ,
Now this time leave this window open and open Namecheap in another window assuming you have already bought ssl certificate ,
Step 5
On name cheap menu click on ssl certificates and then your SSL Certificates , as shown in screenshot below
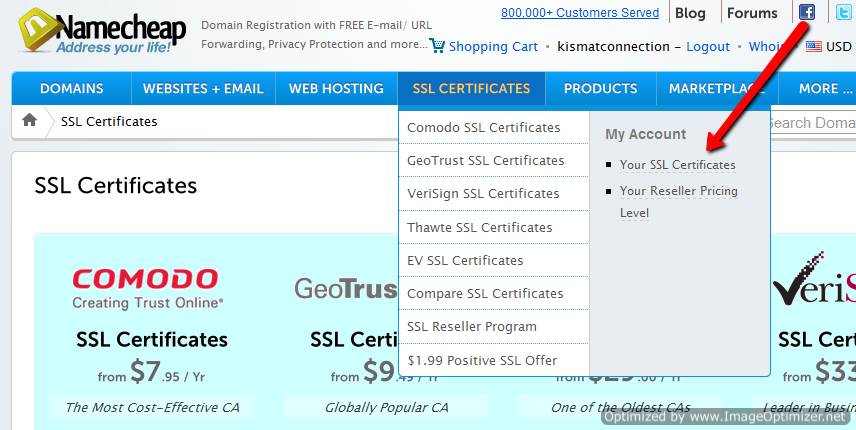
Once you click it you will see another screen like this given below simply select one ssl certificate and click on activate now .

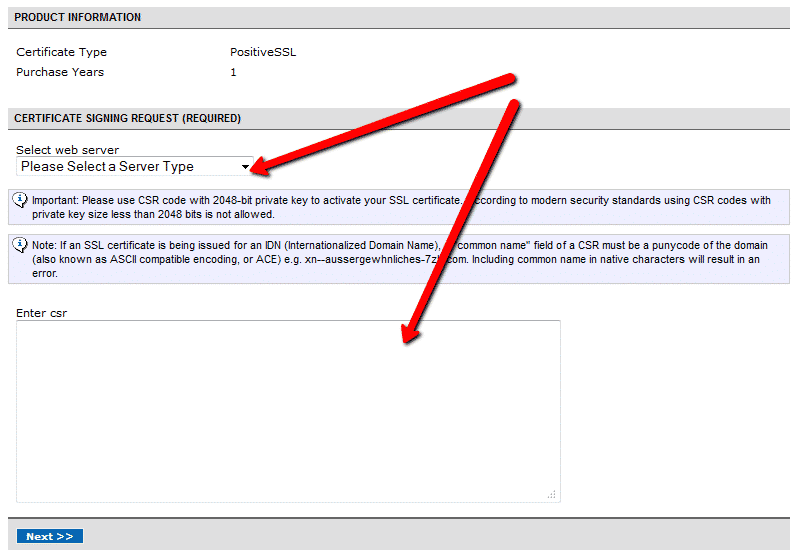
Step 6
in next step select what type of server you have and then paste code we generated in step 4 from both boxes as shown in screenshot
Step 7
in next step they will ask you for your email (with domain like [email protected] etc etc etc make sure you have actually created that email if now create it before clicking next ) and enter your personal details and click next )..Once you ahve completed all steps on name cheap they will ask you to wait for their emails . In first email they will ask you for the confirmation to install SSL certificate on your domain in second email they will send you some files in attachments now its time to download those files and move to step 7 .
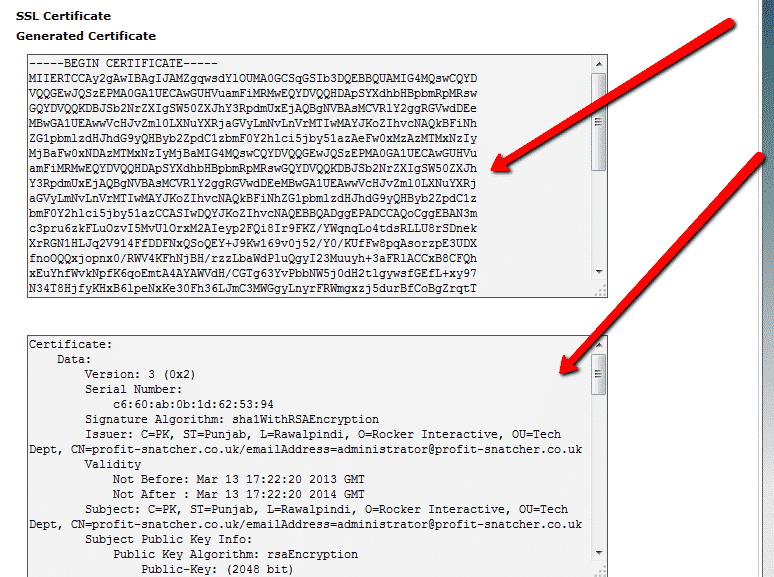
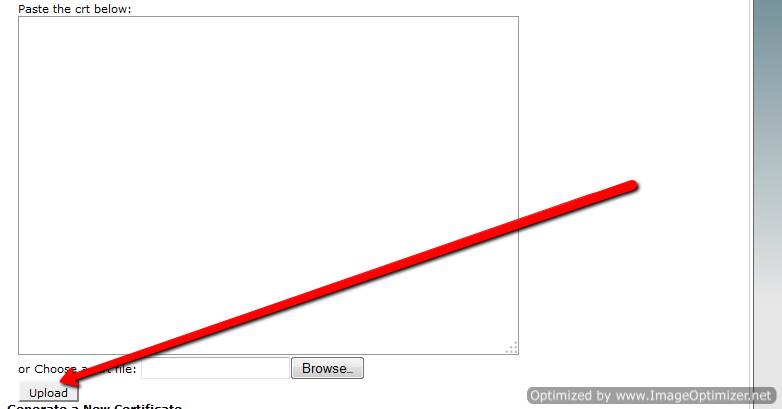
Step 8
Open SSL manager again and you will see option Certificates (CRT) click on “Generate, view, upload, or delete SSL certificates.” And upload files you received in the email as shown in the screenshot below
Step 9
Once uploaded all of the files go back to the manager and activate ssl and it now time to test our ssl certificate for that open your url http://yourdomain.com and put S in front of http so it becomes https://yourdomain.com you are able to access your website successfully congrats you have installed your ssl successfully , you will see lock before your url in the address bar as shown in screenshot below that means your site is now ssl protected